Excitation and emission filters are essential in optical systems, particularly in fluorescence microscopy and spectroscopy. Understanding the differences between these filters is crucial for optimizing experimental setups and achieving accurate results.
Optics filters play a vital role in controlling the wavelengths of light that interact with specimens in optical instruments. Excitation filters allow specific wavelengths of light to illuminate a sample. At the same time, emission filters unwanted wavelengths from the emitted light. This article compares excitation and emission filters, elucidating their functions, types, and applications.
What is Fluorescent Microscopy?
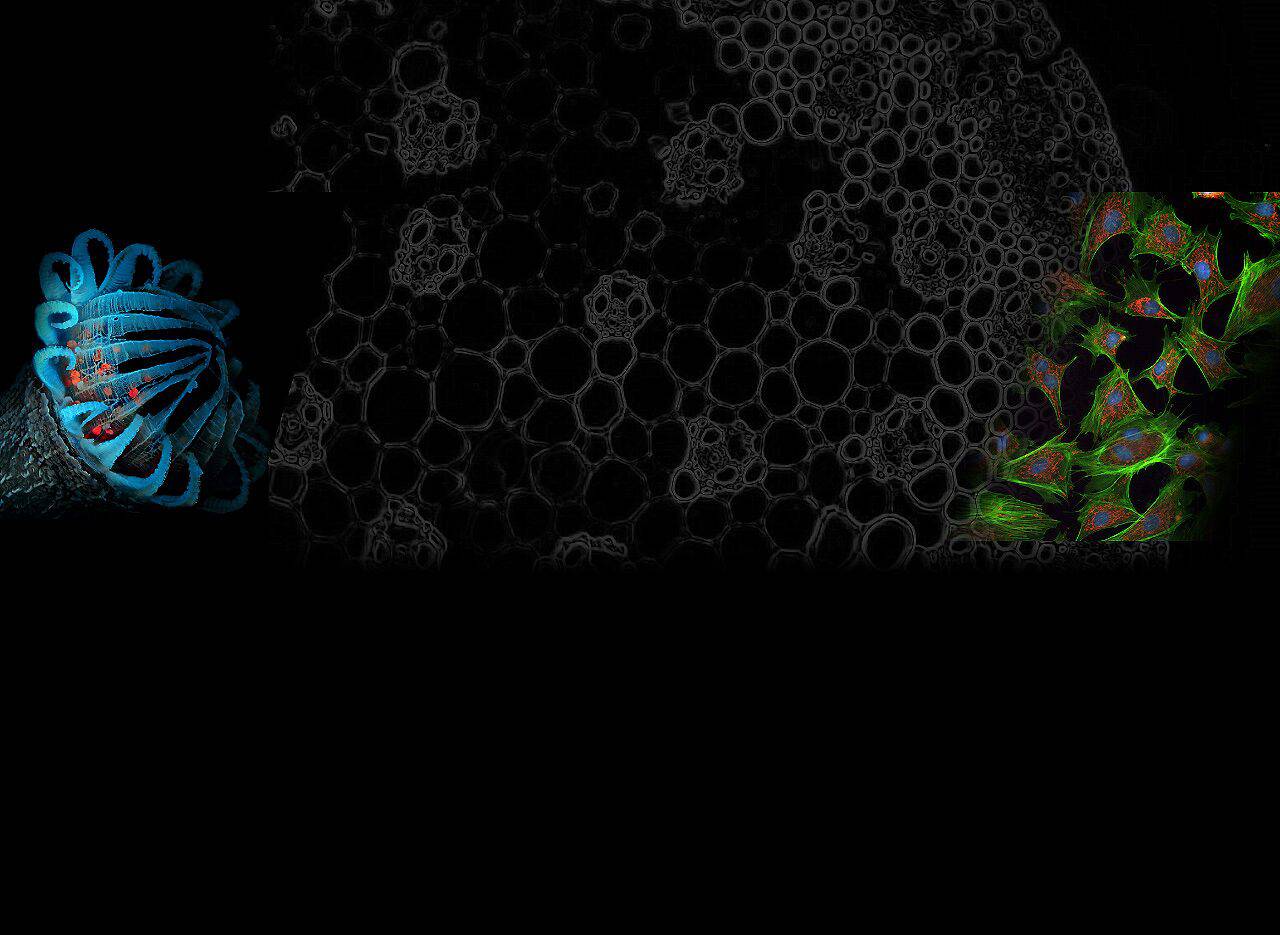
A fluorescence microscope is like a regular microscope but has extra features to improve it. Instead of normal light, it uses bright light to make certain parts of a sample glow. This glow helps us see tiny things like germs or makes 3D features more accessible.
Scientists can attach unique tags to things they want to see and use filters to make only those things show up in the picture. Confocal fluorescence microscopy is used a lot to show 3D stuff. It uses intense light, like lasers, to focus on tiny points in the sample. Then, it puts all those points together to make a 3D picture.
How does Fluorescent Microscopy Work?
The sample is usually tagged in a fluorescence microscope with a particular substance called a fluorophore. Then, it’s lit up with intense light. The fluorophores absorb this light, making them glow with a different, weaker light. Filters in the microscope only let this softer light through, so you can see what’s glowing.
The microscope has filters to let in only the light that matches the glowing material. This light hits the atoms in the sample and makes them give off light, too. To see this light better, another filter blocks out the intense light used for lighting up the sample.
Most fluorescence microscopes in biology shine light on the sample from above and look at the glow from above, too. They often use bright lamps like Xenon or Mercury lamps.
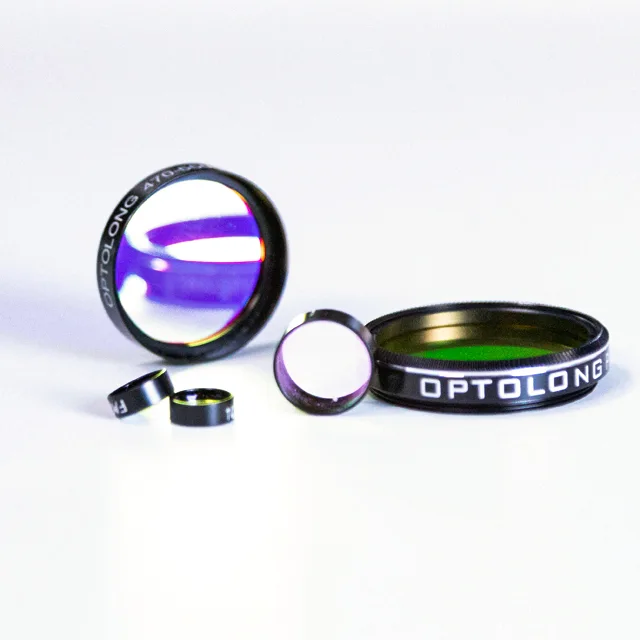
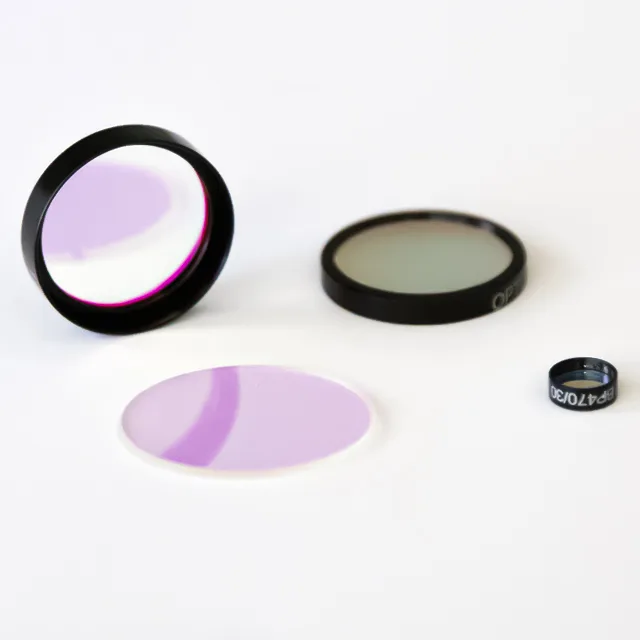
Types of Fluorescence Filters
The primary filters in fluorescence microscopy are mounted in specific cubes. In modern microscopy technology, these filters are often interference filters to improve imaging quality and precision.
Common fluorescence microscopes have the following three types of filters:
- The excitation filter
- The dichroic beamsplitter
- The emission filter
1. Excitation Filters
An excitation filter is like a colour-coded bouncer in light and science. It’s used in special microscopes to study tiny, glowing molecules called fluorophores. Imagine a bright light shining like a party disco ball, with all different colours of light mixed. This filter only lets in specific light colours, like letting people wearing blue shirts into the party. These particular colours are called excitation wavelengths.
These are the tiny guests at the party. They only get excited by specific colours of light (excitation wavelengths). When the allowed colours reach the fluorophores, they get “excited” and start glowing with their different colours (emission wavelengths). After the fluorophores get excited, another filter (emission filter) helps us see them by blocking out the original light (like turning off the disco ball).
2. Dichroic beamsplitter
The dichroic beamsplitter, also known as a dichroic mirror, is a filter that limits the angle at which light can be viewed to certain parts of the electromagnetic spectrum. It lets through specific wavelengths while blocking others.
Usually set at a 45-degree angle, the dichroic filter reflects and transmits light in specific bands for excitation and emission. It’s also handy for separating different light colours while keeping out unwanted light.
3. Emission Filters
In fluorescence microscopy, the emission filter is like a particular artist putting the final touches on a painting. Once the excitation filter has excited the tiny glowing molecules (fluorophores) with specific light colours, the emission filter steps in.
It acts like a spotlight, only letting through the colours emitted by the excited fluorophores while blocking out all the other light. This creates a clear view of the glowing molecules against a dark background, making it easier for scientists to study them.
It’s like editing a photo taken at a party, where the emission filter removes the flashing lights and highlights only the colours of the hats people wear, allowing you to see them. So, the emission filter is essential for improving the image by eliminating unwanted background noise. And showcase the specific glowing molecules scientists want to study.
What is fluorescence microscopy used for?
Fluorescence microscopy is super helpful for scientists, especially in biology and medicine. Here’s how they use it:
1. Visualizing Specific Molecules
They stick fluorescent tags onto molecules in cells, like proteins or DNA, to see where they are and how many there are. This helps figure out how cells are organized and find particular parts.
2. Studying Cellular Dynamics
They can watch molecules move around and interact in real time. This helps us understand how proteins move around in cells, what organelles do, and how cells divide.
By using different colours of fluorescent tags, scientists can label and tell apart different types of cells in one sample. This is handy for studying tissues with lots of different cell types.
3. Detecting Pathogens
They can use fluorescently labelled antibodies to find harmful things like bacteria or viruses in cells or tissues. This helps diagnose diseases and see how pathogens affect the body.
4. Drug Discovery and Development
Scientists can watch how drugs affect cells under a microscope in real time. This helps them develop new medicines and see how they work in cells.
Differences Between Excitation and Emission Filters
Both excitation filters and emission filters play crucial roles in fluorescence microscopy; they have distinct functions and target different aspects of light:
1. Excitation Filter
Function: An excitation filter works like a gatekeeper for light entering the sample. It only lets certain types of light through, called excitation wavelengths. These wavelengths are picked because they get absorbed by the glowing molecules (fluorophores) in the sample, making them excited.
Target: Incoming light source from the illumination system.
Analogy: Think of an excitation filter like a bouncer at a nightclub. This bouncer only lets people wearing specific coloured shirts (representing excitation wavelengths) enter the club. These particular colours are chosen because they excite the glowing molecules (like partygoers) inside, making them lively and bright.
2. Emission Filter
Function: Acts like a finishing touch artist, blocking out the remaining excitation light and allowing only the desired emission wavelengths (different colours of light) emitted by the excited fluorophores to reach the detector.
Target: Light emitted from the sample after fluorophore excitation.
Analogy: Imagine editing a picture at a party, removing the flashing lights (excitation light) and keeping only the colours of the glowing objects (emission wavelengths), allowing you to see them.
Excitation filter vs Emission filter
Here’s a table of Differences Between Excitation and Emission Filters
| Feature | Excitation Filter | Emission Filter |
| Function | Allows excitation wavelengths | Allows emission wavelengths |
| Target Light | Incoming light source | Emitted light from the sample |
| Location | Placed before the sample | Placed after the sample |
Choosing the Right Filters for Fluorescence Microscopy
Here’s a breakdown of choosing the suitable filters for your fluorescence microscopy setup.
1. Fluorophore Spectra
Choose an excitation filter centred around the peak absorption wavelength of your fluorophore. An emission filter centred around your fluorophore’s peak emission wavelength. Consider the difference between the absorption and emission peaks (Stokes shift) to cut overlap. And ensure the best signal separation.
2. Filter Bandwidth
More light transmission for brighter signals but also more background noise. Less light throughput but improved signal specificity (distinguishing between close-emitting fluorophores). If using many fluorophores, select filter sets designed to cut spectral overlap and ease the clear separation of signals from each fluorophore.
3. Microscope Setup
Consider the type of light source (e.g., mercury lamp, LED) and any existing limitations in your microscope’s configuration.
4. Detection System
Match your filters to the sensitivity range of your detector (camera, photomultiplier tube, etc.).
Conclusion
Excitation and emission filters are like the superheroes of fluorescence microscopy. They help scientists see tiny things in cells and tissues by making specific molecules glow. These filters are crucial for spectroscopy systems, fancy machines used in biology and medicine to study these glowing molecules.
Choosing suitable filters is super important. It’s like picking the perfect outfit for a special occasion. Scientists need to consider things like the colour of the molecule. They’re studying the brightness they need and how much background noise they want to block out.
By understanding how these work, scientists can make sure they get accurate data. This helps them know how cells and molecules behave, which can lead to exciting discoveries.
FAQs
What are the filters in fluorescence microscopy?
The primary filter in an epifluorescence microscope is the fluorescence filter cube.
Which contains three filters: the excitation filter, the emission filter, and the dichroic beamsplitter.
Related reading: What is the optical filter?