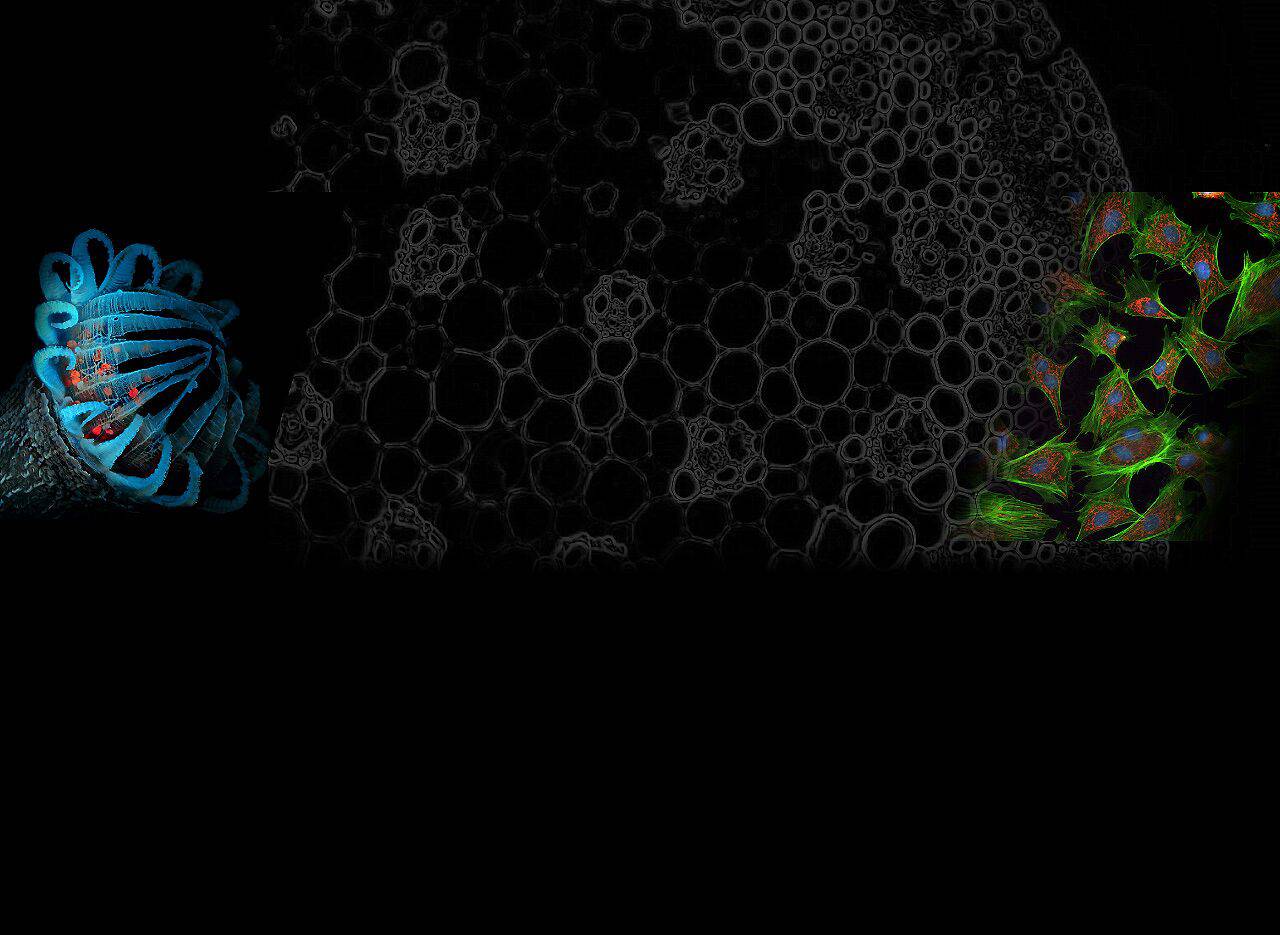
Microscope fluorescence filters are like a secret ingredient in a recipe, making your science shine. This guide demystifies them, explaining their parts, functions, and selection. Whether you’re a pro or a newbie, these filters brighten your microscopy journey, unveiling the micro-world’s beauty.
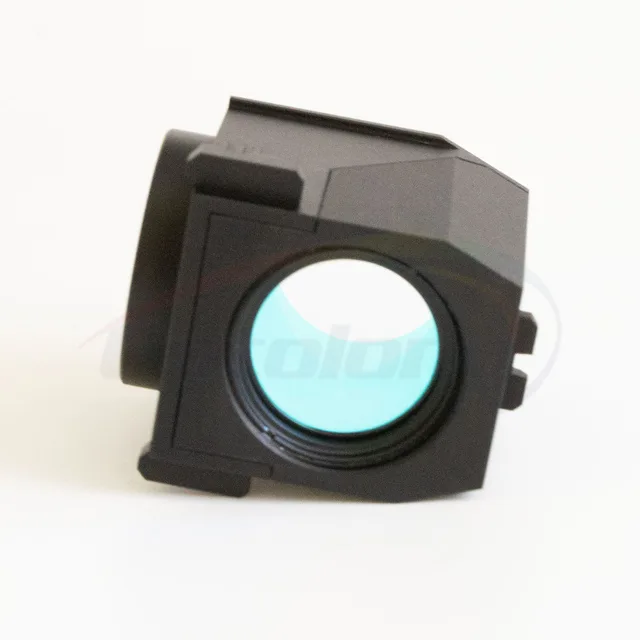
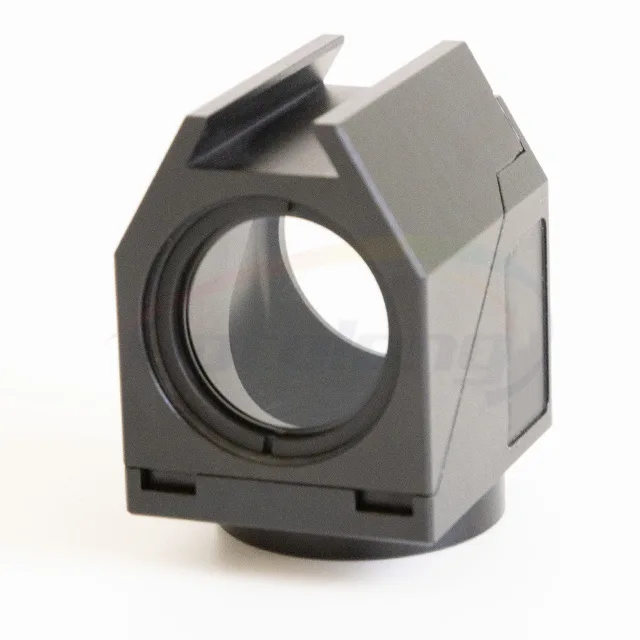
Components of Microscope Fluorescence Filters
Microscope Fluorescence Filters are essential components for vibrant and precise fluorescence microscopy. They consist of three main parts:
Excitation Filter: This filter lets in specific wavelengths of light to excite fluorophores in your sample. It’s like a gateway for the exciting light.
Dichroic Mirror (Dichroic Beamsplitter): This mirror reflects the excitation light towards your sample while allowing emitted light to pass through. Think of it as a traffic cop for light, directing it where it’s needed.
Emission Filter: This filter blocks unwanted wavelengths, letting only the emitted fluorescent light reach your detector. It’s like a bouncer at a club, allowing only the right guests to enter.
These components work together seamlessly to enhance your microscopy experience. When you shine a light on your sample, the excitation filter selects the right colors to excite your fluorophores. The dichroic mirror then guides this light to your sample, where it triggers fluorescence. Finally, the emission filter filters out any unnecessary light, letting you capture only the fluorescence you want.
How Microscope Fluorescence Filters Work?
Understanding how Microscope Fluorescence Filters work is like unlocking the magic behind vibrant fluorescence microscopy. Let’s start into the nitty-gritty:
Excitation Light Filtering: These filters are like the bouncers at a party, allowing only specific colors (wavelengths) of light to enter the club, i.e., your sample. Imagine your fluorophores as partygoers who only get excited when the right music (light) plays. The excitation filter ensures they hear the right tunes.
Dichroic Mirror (Dichroic Beamsplitter) Reflectance: Picture this mirror as a traffic cop, expertly directing the light. It reflects the exciting light toward your sample while letting the emitted light pass through. It’s like guiding cars down the right lanes on a road.
Emission Light Filtering: Here’s where the party starts. After the excitation filter gets the fluorophores grooving, they emit their unique light. But there’s often some unwanted light crashing the party. Enter the emission filter—it’s the ultimate bouncer, making sure only the cool, emitted light gets through to the detector.
Channel Selection and Separation: Imagine a DJ mixing different tracks at a dance party. Each track (fluorophore) has its unique beat (emission wavelength). The filters make sure these beats don’t overlap. This separation ensures you can distinguish between different fluorophores and capture their distinct colors without interference.
Choosing the Right Microscope Fluorescence Filters
Choosing the right Microscope Fluorescence Filters is a bit like picking the perfect paint colors for your masterpiece. Let’s break it down into simple steps to make your selection a breeze:
Consideration of Fluorophores: Start by knowing your fluorophores, those special molecules that light up your sample. Different fluorophores have specific excitation and emission wavelengths, like unique paint shades. Match your filters to these wavelengths, ensuring they’re a perfect fit.
Microscope Compatibility: Just like brushes need to fit your hand comfortably, filters should match your microscope. Check if your microscope supports the size and type of filters you plan to use. Compatibility ensures a smooth and precise imaging experience.
Application Specificity: Think about your research needs. Are you diving into cell biology, neuroscience, materials science, or clinical diagnostics? Different applications may require specific filters. Consider the kind of samples you’ll be studying and choose filters tailored to your field.
Multicolor Imaging: If your microscopy masterpiece involves multiple fluorophores, you’ll need filters that can handle the color mix. Look for filter sets optimized for multicolor imaging. These sets harmonize the colors, preventing them from clashing like a poorly mixed palette.
Filter Sets: Filter sets often come prepackaged, ready for specific applications or fluorophores. These sets include all the filters you need for a particular experiment, sparing you the trouble of matching individual filters.
Consult Experts: If you’re unsure about filter selection, don’t hesitate to seek advice from experts or colleagues. They can offer valuable insights based on their experiences and help you make an informed decision.
Sample Testing: Sometimes, a little trial and error can be enlightening. Test different filters with your samples to see which ones provide the best results. It’s like trying out paint swatches before tackling a big canvas.
Stay Updated: Keep an eye on advancements in filter technology. Innovations can improve your imaging quality and open up new possibilities in your research.
FAQs
What are microscope fluorescence filters used for?
Microscope fluorescence filters enhance fluorescence microscopy by selectively filtering light to improve image quality and enable the visualization of specific fluorophores in samples.
Can I use fluorescence filters with other microscope brands?
It’s best to use optical fluorescence filters with fluorescence microscopes for optimal performance, but compatibility with other brands may vary.
Do I need different filters for different fluorophores in multicolor imaging?
Yes, each fluorophore has specific excitation and emission wavelengths, requiring matching filters for accurate multicolor imaging.
How often should I clean and maintain my fluorescence filters?
Regularly clean filters with gentle techniques and handle them carefully to extend their lifespan and maintain image quality.