Fluorescence filter cubes are vital in microscopy, revealing hidden details. These cubes control light wavelengths for clear cell and tissue images. Whether you’re a pro or a beginner, learning about them enriches your microscopy journey. Explore the unseen world!
What is a fluorescence filter cube?
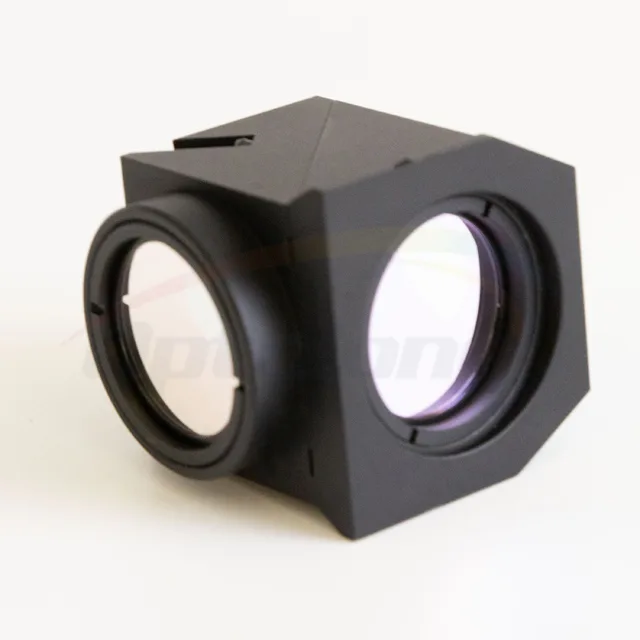
A fluorescence filter cube is a crucial tool in microscopy that helps scientists and researchers capture vibrant and clear fluorescent images. It consists of several optical components, including filters, mirrors, and lenses, all neatly packaged into a cube-shaped housing.
The main purpose of a fluorescence filter cube is to selectively transmit specific wavelengths of light while blocking unwanted ones. It accomplishes this by using three key components:
Excitation Filter: This filter lets through the light that excites the fluorescent sample. It is positioned near the light source.
Dichroic Mirror (Dichroic Beamsplitter): This mirror reflects the excitation light towards the sample while allowing emitted fluorescence to pass through.
Emission Filter: Placed between the objective lens and the camera, it blocks any remaining excitation light and only allows the fluorescent light emitted by the sample to reach the detector.
Importance in Fluorescence Microscopy
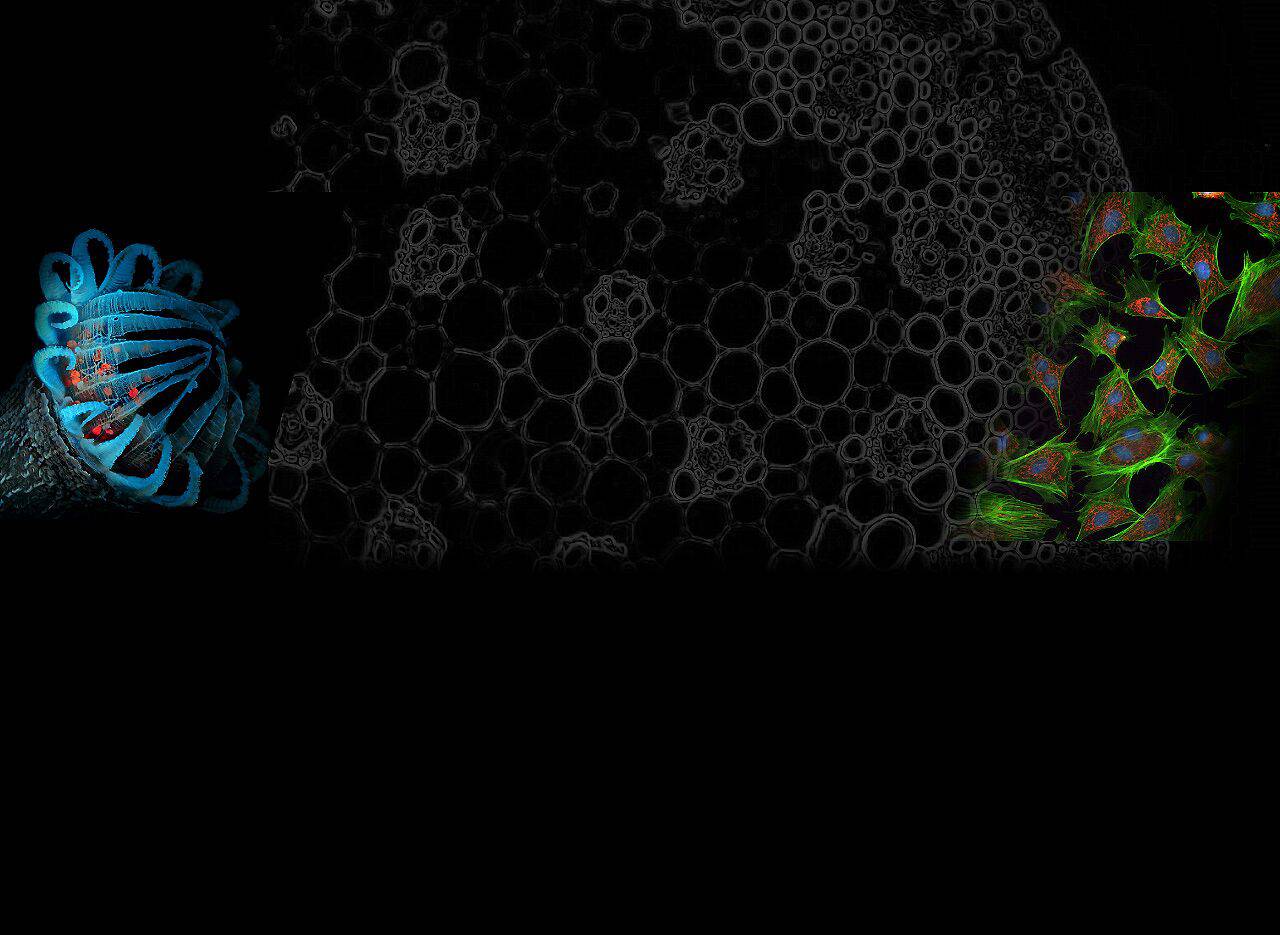
Fluorescence microscopy is a cornerstone of scientific exploration, particularly in the fields of biology, medicine, and materials science. Its significance lies in its ability to provide detailed, vivid, and real-time imaging of specimens at the microscopic level. Let’s delve into its importance with more details:
Cellular and Subcellular Exploration
Fluorescence microscopy allows scientists to peer deep into the intricacies of cells and subcellular structures. By labeling specific components with fluorescent markers, researchers can visualize the fine details of cellular organelles, membranes, and even individual molecules like DNA and proteins. This level of detail is crucial for understanding fundamental biological processes.
Dynamic Observations
Unlike traditional microscopy techniques, fluorescence microscopy offers the advantage of tracking dynamic processes in real-time. It enables the observation of cellular events, such as cell division, molecular trafficking, and protein interactions, as they occur. This dynamic insight is invaluable in unraveling the complexities of living systems.
Neuroscience Advancements
Neuroscientists leverage fluorescence microscopy to study the brain and nervous system. By introducing fluorescent proteins or dyes into neurons, they can map neural circuits, monitor synaptic activity, and gain insights into brain function and neurological disorders.
Drug Discovery and Development
The pharmaceutical industry heavily relies on fluorescence microscopy for drug development. Researchers can assess the efficacy and safety of potential drug candidates by tracking their effects on cells and tissues, ensuring faster and more targeted drug discovery.
Genetic Insights
In genetics, fluorescence microscopy plays a critical role in gene expression analysis. By attaching fluorescent markers to specific genes, scientists can monitor their activity in living organisms, shedding light on developmental processes and disease mechanisms.
Environmental Studies
Environmental scientists use fluorescence microscopy to assess environmental quality. It helps in identifying pollutants, microbial communities, and the health of aquatic ecosystems by employing fluorescent probes and markers.
Educational Tool
Fluorescence microscopy is a powerful educational tool, enhancing learning experiences in biology and related fields. It allows students to directly observe and engage with microscopic phenomena, fostering a deeper understanding of complex concepts.
How Fluorescence Filter Cubes Work?
Understanding how fluorescence filter cubes work can demystify the magic behind stunning fluorescent microscopy images. Let’s delve into this process step by step in simple terms:
Excitation Light Selection
It all begins with selecting the right excitation wavelength. A powerful light source, often a mercury or LED lamp, produces a range of colors. The first filter, called the excitation filter, comes into play. This filter specifically selects the color (wavelength) of light needed to excite the fluorescent molecules in your sample. Imagine it as a gatekeeper allowing only the right color of light to pass through.
Directing Light to the Sample
Once the excitation light is filtered, it needs to be directed to your specimen. This is where the dichroic mirror, also known as a beamsplitter, takes the spotlight. Instead of reflecting all light away like a regular mirror, it reflects the chosen excitation wavelength toward your sample while letting the rest of the light pass through harmlessly.
Sample Illumination
The directed excitation light now illuminates your sample, exciting the fluorescent molecules within it. These molecules absorb the energy from the light and become “excited” themselves.
Emission of Fluorescent Light
As the excited molecules return to their normal state, they emit fluorescent light. This emitted light carries valuable information about your sample. However, it’s mixed with any remaining excitation light, which can blur your image.
Filtering Emission Light
To isolate the emitted fluorescent light, another filter comes into play – the emission filter. This filter blocks out the remaining excitation light while allowing only the emitted light to pass through. Think of it as a bouncer at a club, only permitting the desired guests to enter.
Image Capture
The final step involves capturing the filtered fluorescent light using a camera or your eyes, depending on the microscope setup. What you see is a clear and vibrant image of your sample, with the unwanted background excitation light removed.
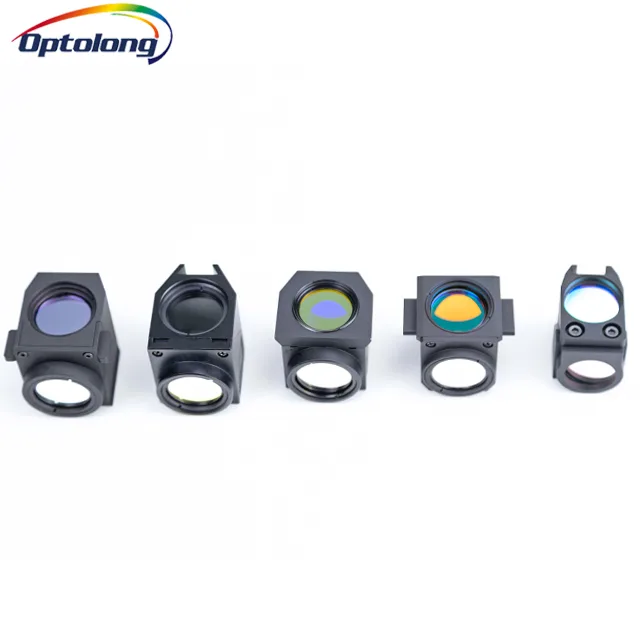
Choosing the Right Fluorescence Filter Cube
Selecting the appropriate fluorescence filter cube is a meticulous process, and a deeper understanding of key considerations can help you make an informed choice:
Know Your Fluorophores
Different fluorescent dyes and proteins have distinct excitation and emission spectra. To choose the right cube, you must know the specific wavelengths at which your fluorophores absorb (excitation) and emit (emission) light. This information is often provided by the manufacturer of the fluorescent labels you’re using.
Microscope Compatibility
Not all filter cubes are compatible with every microscope model. Refer to documentation or contact their support to confirm which cubes are compatible with your microscope. This ensures seamless integration and optimal performance.
Multi-Color Imaging
If your experiments involve multi-color imaging, where you’re using multiple fluorophores simultaneously, it’s essential to consider spectral overlap. Choose filter cubes that can accommodate multiple fluorophores with minimal spectral interference. This prevents bleed-through and crosstalk between channels, maintaining the integrity of your data.
Fluorescence Intensity
The sensitivity of your imaging system and the brightness of your fluorophores influence the choice of filter cube. If you’re working with weak fluorescent samples, opt for a cube with high transmission efficiency to maximize the signal-to-noise ratio and capture faint signals effectively.
Dichroic Mirror Properties
The dichroic mirror in the filter cube is pivotal. It reflects the excitation light while allowing the emitted fluorescence to pass through. Ensure that the mirror’s spectral characteristics align with your fluorophores and microscopy setup.
Availability and Budget
Some specialized filter cubes may have longer lead times or come at a higher cost. Consider your budget constraints and the availability of the filter set. Balance your research needs with budget considerations to make a practical choice.
Sample Characteristics
The type and thickness of your samples can impact filter cube selection. Thick or autofluorescent samples may require cubes with superior optical properties and better blocking capabilities to minimize background noise and improve image quality.
Practical Testing
Whenever feasible, conduct practical tests with different filter cubes and your specific samples. Actual testing can reveal nuances and variations in performance that may not be evident from specifications alone.
FAQs
Can I use one filter cube for all my fluorescent samples?
While some cubes are versatile, it’s often best to match a cube to your specific fluorophores and experimental setup. Different samples may require different cubes to maximize image quality and data accuracy.
What should I do if I’m unsure about which fluorescence filter cube to choose?
Don’t hesitate to reach out to our support or consult with microscopy specialists. We can provide expert guidance based on your research objectives and help you navigate the selection process effectively.